


How to Use a Breast Pump (Step-by-Step Guide for New Moms)
")
Learn how to use a breast pump with this beginner-friendly guide, medically-informed, and optimized for better milk flow & comfort
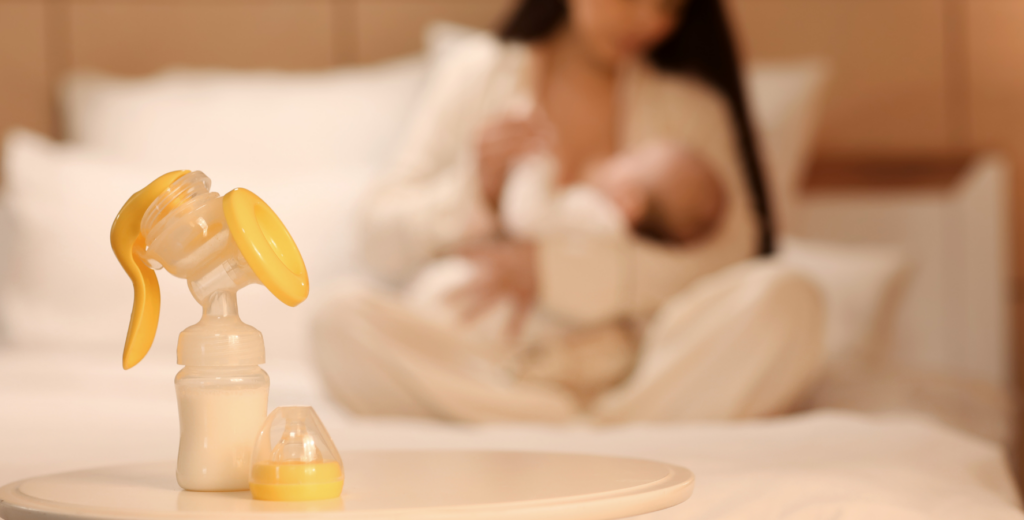
If you just unboxed your breast pump and thought, “Where do I even start?” you’re not alone. Learning how to use a breast pump can feel overwhelming, but once you understand the basics, it becomes an essential and empowering part of your feeding journey. Whether pumping is your preferred way to provide breast milk to your baby or if you’re doing it to build a milk stash, return to work, or increase milk supply, this is your How to Use a Breast Pump Step-by-Step Guide for New Moms!
A breast pump helps you express and store milk so your baby can still receive breast milk even when you’re apart. It can also:
- Help maintain or increase milk supply
- Relieve engorgement or clogged ducts
- Support feeding if baby has trouble latching
- Offer flexibility and freedom to your routine
Let’s start by understanding the types of pumps and which one you should use. Kaiser Permanente outlines perfectly in their blog post: Learning About Using a Breast Pump
Manual pumps:
- Don’t require a power supply since they’re pumped by hand.
- Are easy to carry with you.
- May cost less than other types of pumps.
- Are slower than electric or battery-powered pumps.
Battery-powered pumps:
- Use a battery-powered motor to create suction and remove milk. In most pumps, the battery can be recharged.
- Are convenient when you don’t have an outlet handy.
Electric pumps:
- Use an electric motor to create suction and remove milk.
- Are often faster and more comfortable than manual pumps.
- May work like the action of a breastfeeding infant.
- Are larger and heavier than manual pumps. But some newer models are lightweight.
Check out best breast pump for new moms for more support to determine the best pump for you and your needs.
9 Steps to Using a Breast Pump (Beginner Guide)
Step 1: Read your Breast Pump instructions
The actual steps to using a breast pump will differ based on whether you’re using an electric or manual breast pump, so always read the manual that comes with your pump before getting started. This may seem like an obvious first step, but if you’re like someone in the room (read: me), you may pick up an instruction manual and immediately put it down but we gotta do it, mama!
Every pump is different, which makes it so important that you review the manufacturer’s guide before you begin your pumping journey. To feel confident with your pump, you need to understand:
- Assembly
- Settings
- Cleaning requirements
“you may have to try different methods and settings on the breast pump before you find ones that work best for you” – Standford Medicine
Step 2: Clean your Hands and Equipment to Prep your Breast Pump
Cleanliness is critical.
- Wash hands with soap and water
- Ensure all pump parts are clean and dry
- Use sanitized bottles or milk storage bags
This helps prevent contamination and keeps your baby safe.
Step 3: Assemble the Pump Correctly
Put your pump together according to the instructions and double-check:
- Tubing connections
- Valves and membranes
- Milk collection containers
If milk leaks during pumping, improper assembly is often the cause
Step 4: Get Comfortable and Relax
In our humble opinion, you deserve a spa-like environment every time you pump. But as moms ourselves, we know that’s not realistic. That said, the more relaxed you are while pumping, the more comfortable and productive your pumping session will be. So, do your best to find a quiet and private place to pump.
Your body releases milk more easily when you’re relaxed and that’s science!
Try this:
- Sit in a quiet, comfortable spot
- Look at your baby or a photo/video
- Take a few deep breaths
Stress can slow milk flow, so creating a calm environment matters.
PRO TIP: Prepare by making sure you have milk storage bags, a cloth for any drips, and any necessary items that can keep the milk flowing and limit interruptions nearby.
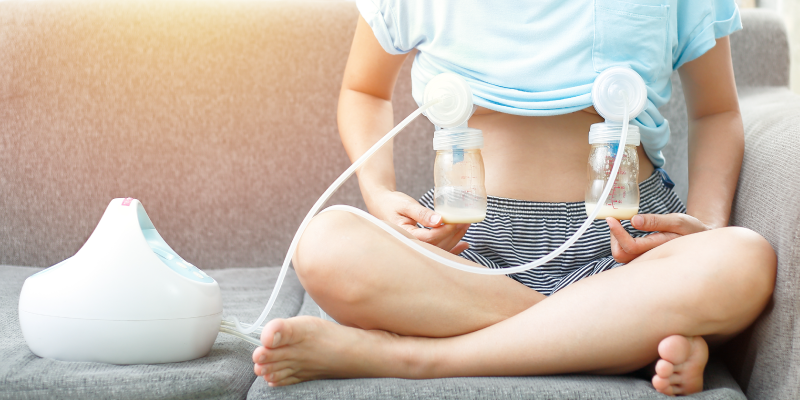
Step 5: Master the Position of your Breast Shield (Flange)
If you’re wearing a pumping bra, it should provide support to your breasts while pumping. If not, use your hands to support your breasts. Place the flange over your nipple so it’s centered.
A proper fit is crucial:
- Too small = pain + reduced milk output
- Too large = inefficient suction
Finding the right fit improves both comfort and milk production.
Have an electric pump? Attach the breast shields to one breast (or both of your breasts if using a double pump), making sure to align the nipple in the center. The positioning of the nipple is key to avoid discomfort.
Have a manual pump? Start with a gentle breast massage and hand express your milk before attaching the flange. Then, attach the flange, positioning the nipple in the center.
Step 6: Start with Low Suction
Turn the pump on at a low setting. Then:
- Gradually increase suction
- Stop before it becomes painful
Pumping should feel like a gentle tug with sensation, not intense pain discomfort.
“Pumping in general should be pain free, so if it’s hurting that tells us that we need to adjust something,” – manager of the Yale New Haven Hospital Lactation Program, and Physician Assistant Meredith Young in How to Use a Breast Pump
Electric Pump? Once your breast shields are attached, you’re ready to begin. Turn the machine on, and around the two-minute mark, milk should begin to flow. Some electric pumps will adjust the speed and suction automatically. Otherwise, make some adjustments yourself so you’re comfortable. You may feel pressure during pumping, but it should never be a painful process. Think about the rhythm of a baby’s sucking — you want your pump to mimic this as much as possible.
Manual Pump? With a manual pump, you’re what makes the machine run. To begin pumping using a manual style pump, start hand pumping in a tempo that mimics your baby’s sucking. Continue the manual pumping, switching breasts when the flow appears to stop.
Step 7: Pump for 10 – 15 Minutes per Breast
Typical sessions last:
- ~10–15 minutes per breast
- Or until milk flow slows
Many moms pump both breasts at once to save time and increase output .
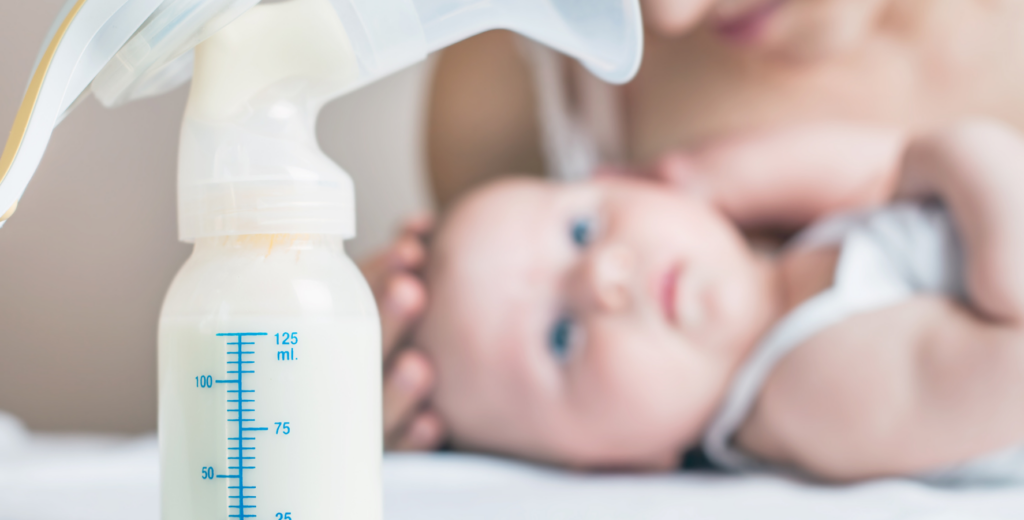
Step 8: Safely Store Your Breast Milk
After pumping:
- Remove the flanges or breast shields
- Label milk with date/time
- Store in breast milk bags or bottles
Storage guidelines:
- Freezer: up to 9 months
- Room temp: up to 4 hours
- Fridge: 3–5 days
Step 9: Clean Your Breast Pump
Now that you’re done pumping, you’ll need to clean all parts of the equipment, especially those that came into contact with the milk or your body. We’ve summarized the CDC’s guidelines around breast pump cleaning for you right here.
After each use:
- Disassemble all parts
- Wash with warm, soapy water
- Air dry completely
Proper cleaning prevents bacteria buildup and protects your baby.
Pro Tips for Better Pumping Results
💡Pump on a schedule: Aim to pump every 2–4 hours if exclusively pumping to maintain supply
💡 Use the right flange size for optimized comfort and output
💡 Stimulate let-down: Try warm compresses or gentle massage before pumping
💡 Be patient: Milk may not flow immediately and this is completely normal.
Common Breast Pumping Mistakes to Avoid
- Skipping pump cleaning
- Using the wrong flange size
- Pumping at too high suction
- Expecting large output right away
Remember: pumping is a learned skill and it gets easier with time!
You’ve Got This, Mama!
Breast pumping might feel intimidating at first but with the right steps, it becomes second nature.
With consistency, the right equipment, and a little patience, you’ll build a routine that works for you and your baby.